Python Apply Drawing Effect to Images
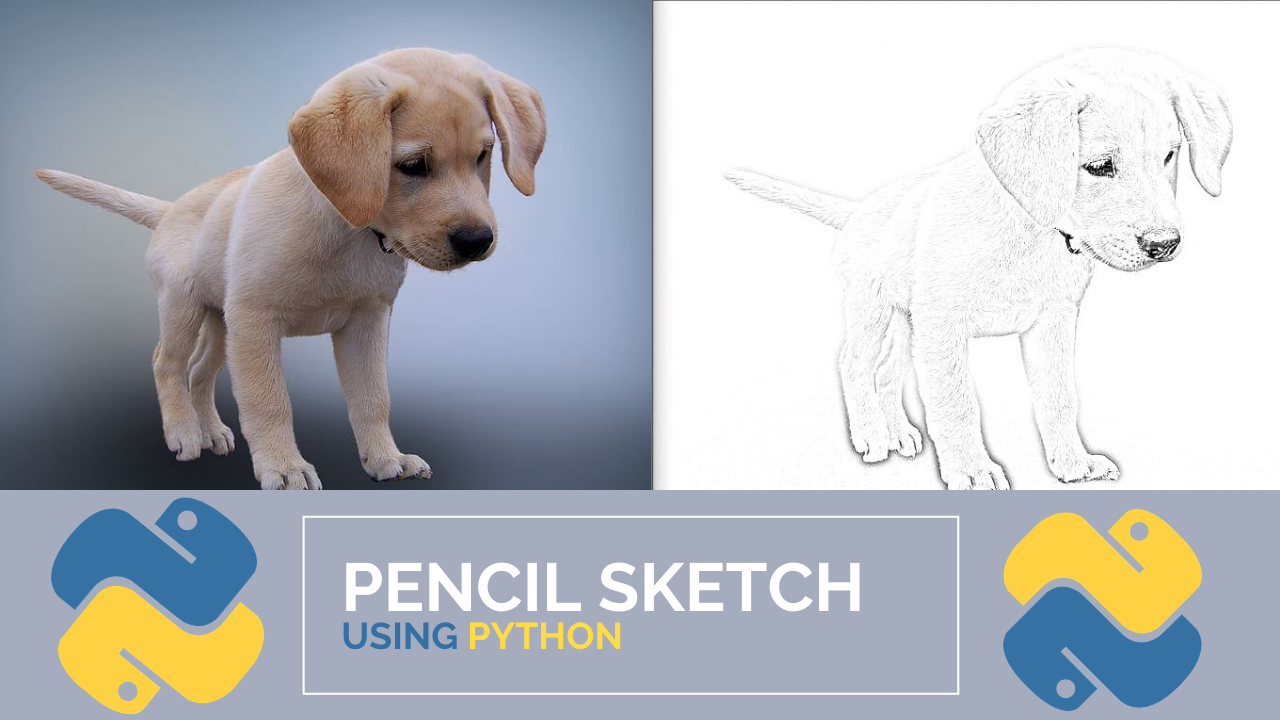
Convert A Photo To Pencil Sketch Using Python In 12 Lines Of Code
Change an image into a pencil sketch using the Python programming language
![]()
In this article, I will show you how to convert an image to a pencil sketch using the Python programming language in just 12 lines of code! Python is a general-purpose programming language that was created in the late 1980s and has seen significant growth in popularity from big tech companies and communities over the years.
One of the reasons for its popularity growth is its ease of use and simplicity. Just think that we are about to transform an image in just 12 lines of code !!
Actually, it could be less.
Understanding The Concept Before The Code
Before writing any code let's walk through some of the steps that will be used and try to understand them a bit.
Step 1. Find an image that we want to convert into a pencil sketch. I am going to use the image of a Labrador puppy (one of the most popular dogs in the world).

Step 2: Read in the Red, Blue, Green (RBG) image and then convert it to a gray scale image. This effectively makes the image a classic "black and white" photo. This will be our "gray scale image".
Step 3: We are going to invert the "gray scaled image" also known as getting the image negative, this will be our "inverted gray scale image". Inversion can be used to enhance details. The Logical NOT or invert is an operator which takes a binary or gray level image as input and produces its photographic negative, i.e. dark areas in the input image become light and light areas become dark. -homepages

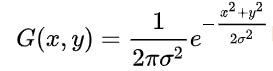
Step 4: Use a Gaussian function to blur the image. In image processing, a Gaussian blur (also known as Gaussian smoothing) is the result of blurring an image by a Gaussian function (named after mathematician and scientist Carl Friedrich Gauss). It is a widely used effect in graphics software, typically to reduce image noise and reduce detail. — Wikipedia
We will call this newly created image, the "blurred image".
Step 5: Invert the newly created "blurred image", this will be called the "inverted blurred image".
Step 6: Now we are going to create the pencil sketch image by blending the "gray scale image" with the "inverted blurred image". This can be done by dividing the "gray scale image" by the "inverted blurred image". Since images are just arrays we can easily do this in programming by using the divide function from the cv2 library.
Quick Steps:
1. Convert the RGB color image to grayscale.
2. Invert the grayscale image to get a negative.
3. Apply a Gaussian blur to the negative from step 2.
4. Blend the grayscale image from step 1 with the blurred negative from step 3.
If you prefer not to read this article and would like a video representation of it, you can check out the YouTube Video below. It goes through everything in this article with a little more detail, and will help make it easy for you to start programming . Or you can use both as supplementary materials for learning !
Programming
Import the library.
import cv2 Next we need to get the file location and the file name. The file location may look something like C:/Users/<username>/Desktop/. The image file name that I am using is puppy.jpg.
          img_location =            '<file_location>'
            filename =            'puppy.jpg'
Now, it's time to read in the image.
img = cv2.imread(img_location+filename)
Once the image has been read, we will create a new image by converting the original image to grayscale.
gray_image = cv2.cvtColor(img, cv2.COLOR_BGR2GRAY) 
Invert the newly created image.
inverted_gray_image = 255 - gray_image 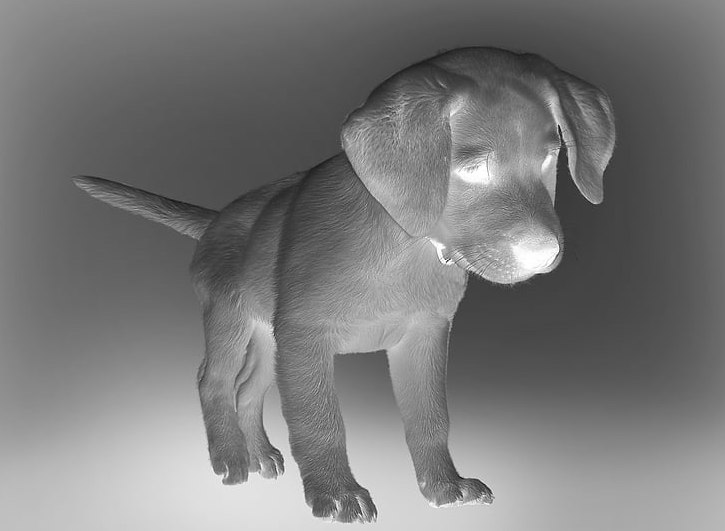
Next blur the image by a Gaussian function.
blurred_img = cv2.GaussianBlur(inverted_gray_image, (21,21),0) Invert the blurred image.
inverted_blurred_img = 255 - blurred_img Now it's time to create the pencil sketch image.
pencil_sketch_IMG = cv2.divide(gray_image, inverted_blurred_img, scale = 256.0) 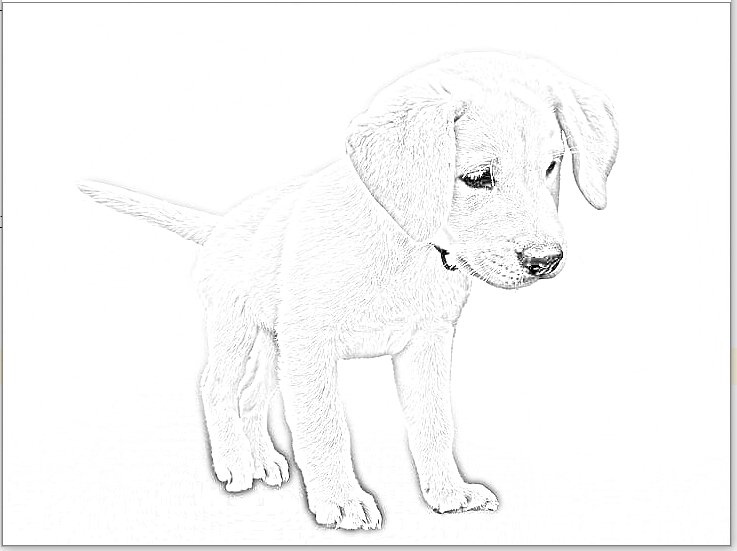
Finally, we can show both the original image and the newly created pencil sketch image.
                                    #Show the original image
            cv2.imshow('Original Image', img)
                          #Show the new image pencil sketch
            cv2.imshow('Pencil Sketch', pencil_sketch_IMG)
                          #Display the window infinitely until any keypress
cv2.waitKey(0) 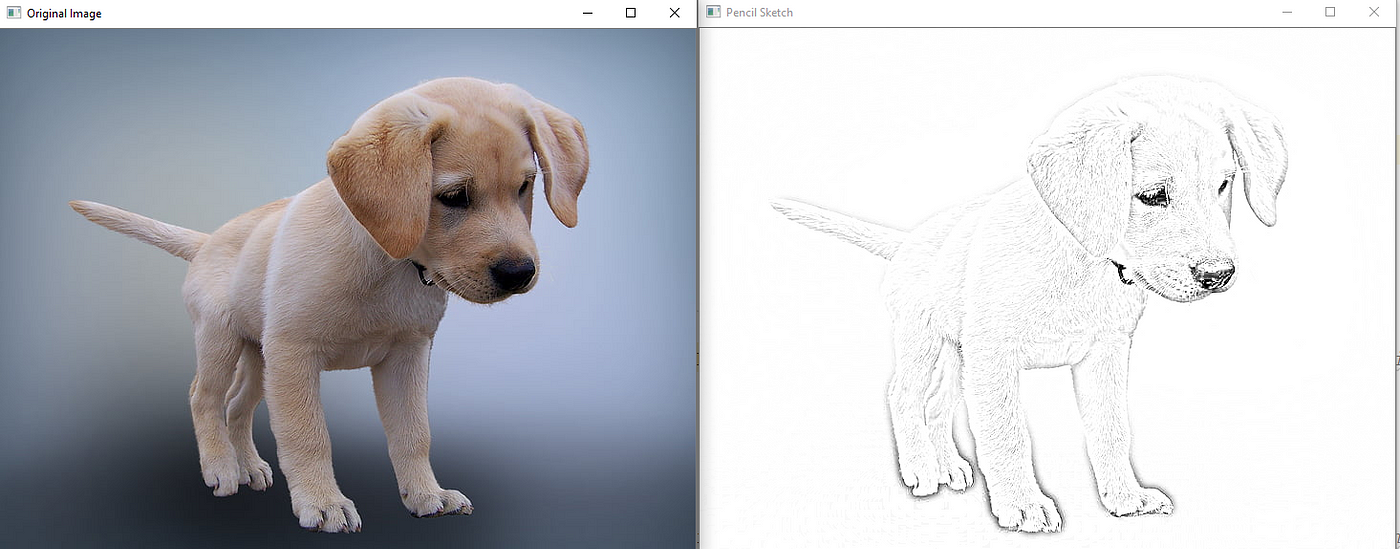
Thanks for reading this article I hope it was entertaining to you all! If you enjoyed this article and found it helpful please leave some claps to show your appreciation. If you aren't a member of Medium already, then consider becoming a member if not for my articles then for all of the other amazing articles & authors on this site. You can easily become a member of Medium by using the link here. Keep up the learning, and if you like finance, computer science, or programming please visit and subscribe to my YouTube channels (randerson112358 & computer science).
Extra Reading Material:
1. Automatic Generation Of Pencil Sketch for 2D Images
Python Apply Drawing Effect to Images
Source: https://python.plainenglish.io/convert-a-photo-to-pencil-sketch-using-python-in-12-lines-of-code-4346426256d4